Home » How to Build a DIY Orchard Structure
Crackpots Rural
How to Build a DIY Orchard Structure
If you’re looking for a DIY Orchard Structure kit, so that you can build one yourself, the EZBuild kits are perfect.
We’ve designed them to suit the needs of small farms, hobby farms and anyone who is wanting to grow their own fruit and vegetables and protect it from birds.
The kits come with –
- Bird netting
- All of the cabling & hardware
- Layout Diagrams & Instructions
Before you start building your orchard structure, you’ll need to source the pine poles. We recommend pine poles that are 4.5m long for structures that are up to 3.5m high
Equipment for Building your Orchard Structure
We also recommend having the following equipment available to help your build go smoothly:
- Post hole digger – needs to be able to dig a hole with a minimum depth of 1.4m
- Angle Grinder for cutting stainless steel wires
- Electric Drill
- 2 x Tech screws for securing each pole cap.
- A wire tensioner
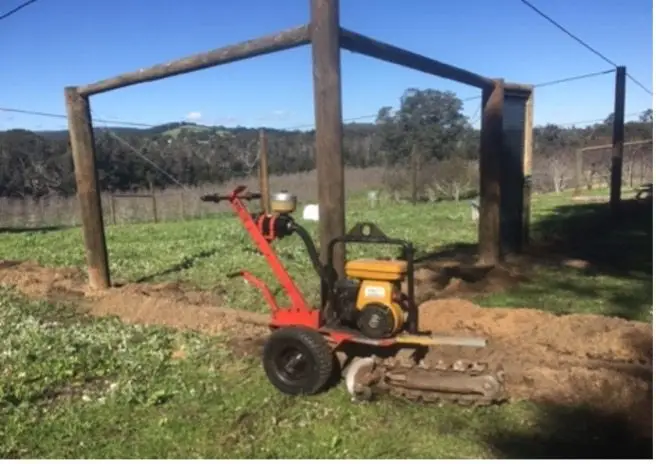
You might also like to see if you can access a trencher.
Testimonial
"Paul was so helpful in helping us with our fruit tree enclosure. We had great fun putting it up! And without it in Yallingup there is no fruit!"
David Andrews, Yallingup
Steps to Build your Orchard Structure
We recommend thinking about building your DIY Orchard Structure in two separate stages. The first stage is all about building the structure that your net will hang on; and the second part is actually installing the netting.
Stage 1 – Preparing the Ground for your DIY Bird Netting Structure
- Measure up
- Dig the holes for the poles
- Put your poles in the ground.
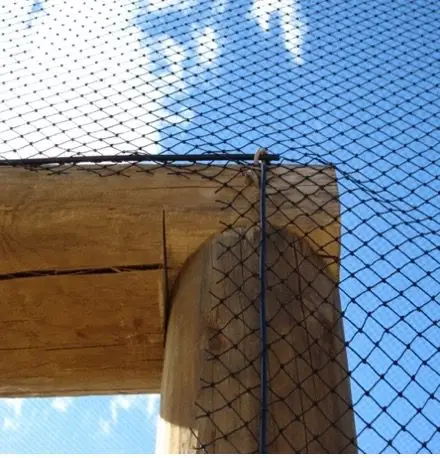
- Build a frame for your gateway.
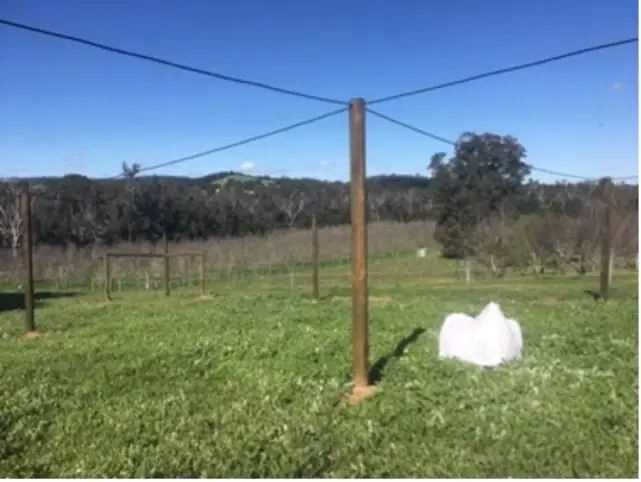
- Stretch out & tension your cables.
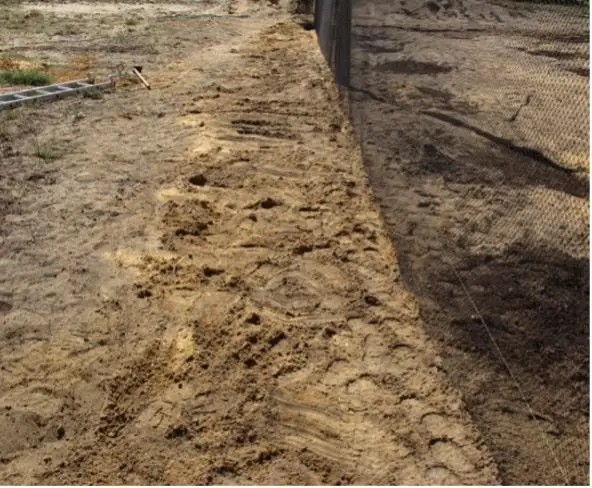
- Once the poles are in the ground, and the tension wires are all in place, use a trencher to dig a trench all the way around the perimeter.
Stage 2 –Adding the Bird Netting
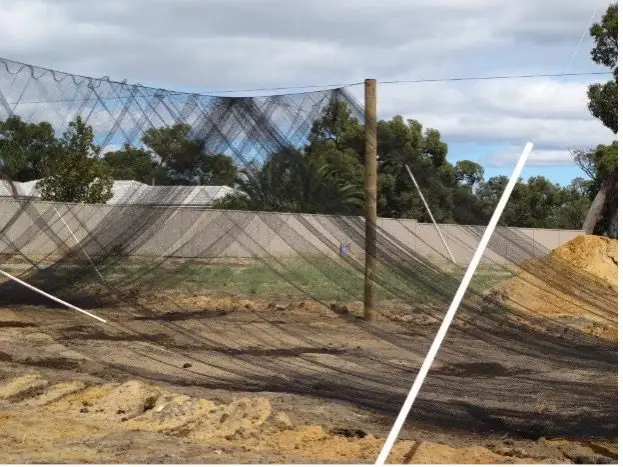
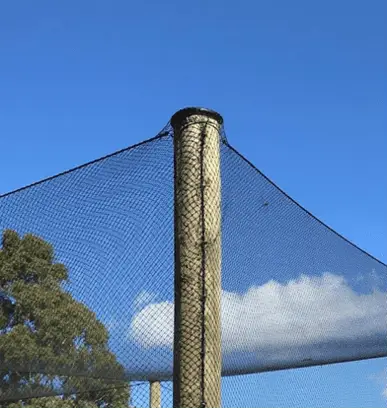
- Start spreading the netting from the centre of your structure.
- Spread the netting out across the structure & tension it.
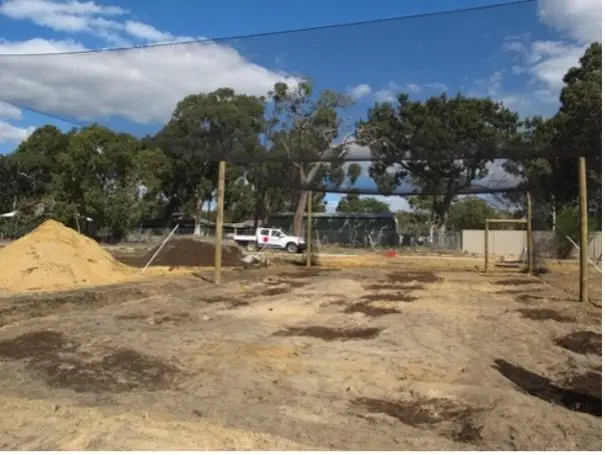
- When the net is evenly tensioned, bury the netting into the ground to secure it.
- Secure your netting to the corner poles.
- Finish by creating your gateway
We Are Always Ready For You

